"rib flare" part two: tips for ribcage connection
/
In this post I’ll take you through some simple tips to regain ribcage connection. If you missed it, check back to discover what rib flare is and why it matters in part one of this series.
Restoring Ribcage alignment requires Mindfulness + persistence
Start by developing awareness. How are you positioned as you sit, as you stand or walk, even as you rinse your shampoo out in the shower? Are you leaning into excessive arching of your low back, sending your rib cage forwards from your center axis, or noticing a “proud chest” posture during heavier lifting? Frequent body scanning help you develop new postural habits.
Learn to make tiny micro-adjustments. Notice your feet on the ground. Allow your knees to be soft. Shift your ribcage backwards over your pelvis. Lengthen upwards from the back of your heels through the back of your skull and notice how your mid-back becomes more spacious.
Up your proprioception game. You can gather more sensory inputs to highlight this feeling by exploring the shift while laying on the floor or standing up against a wall. This gives you some extra feedback so you can realize a new normal.
Keep a beginners mind. Perform body scans throughout the day and readjust readjust readjust.
Keep in mind that postural goals are usually complex. Things like tension, breathing patterns, mobility, and capacity for a particular activity all play a role in your posture during any given moment. Accessing mobility of the thoracic spine, diaphragm, ribcage, pelvis, shoulder girdle, etc. can be helpful to restoring ribcage alignment. Everything is connected.
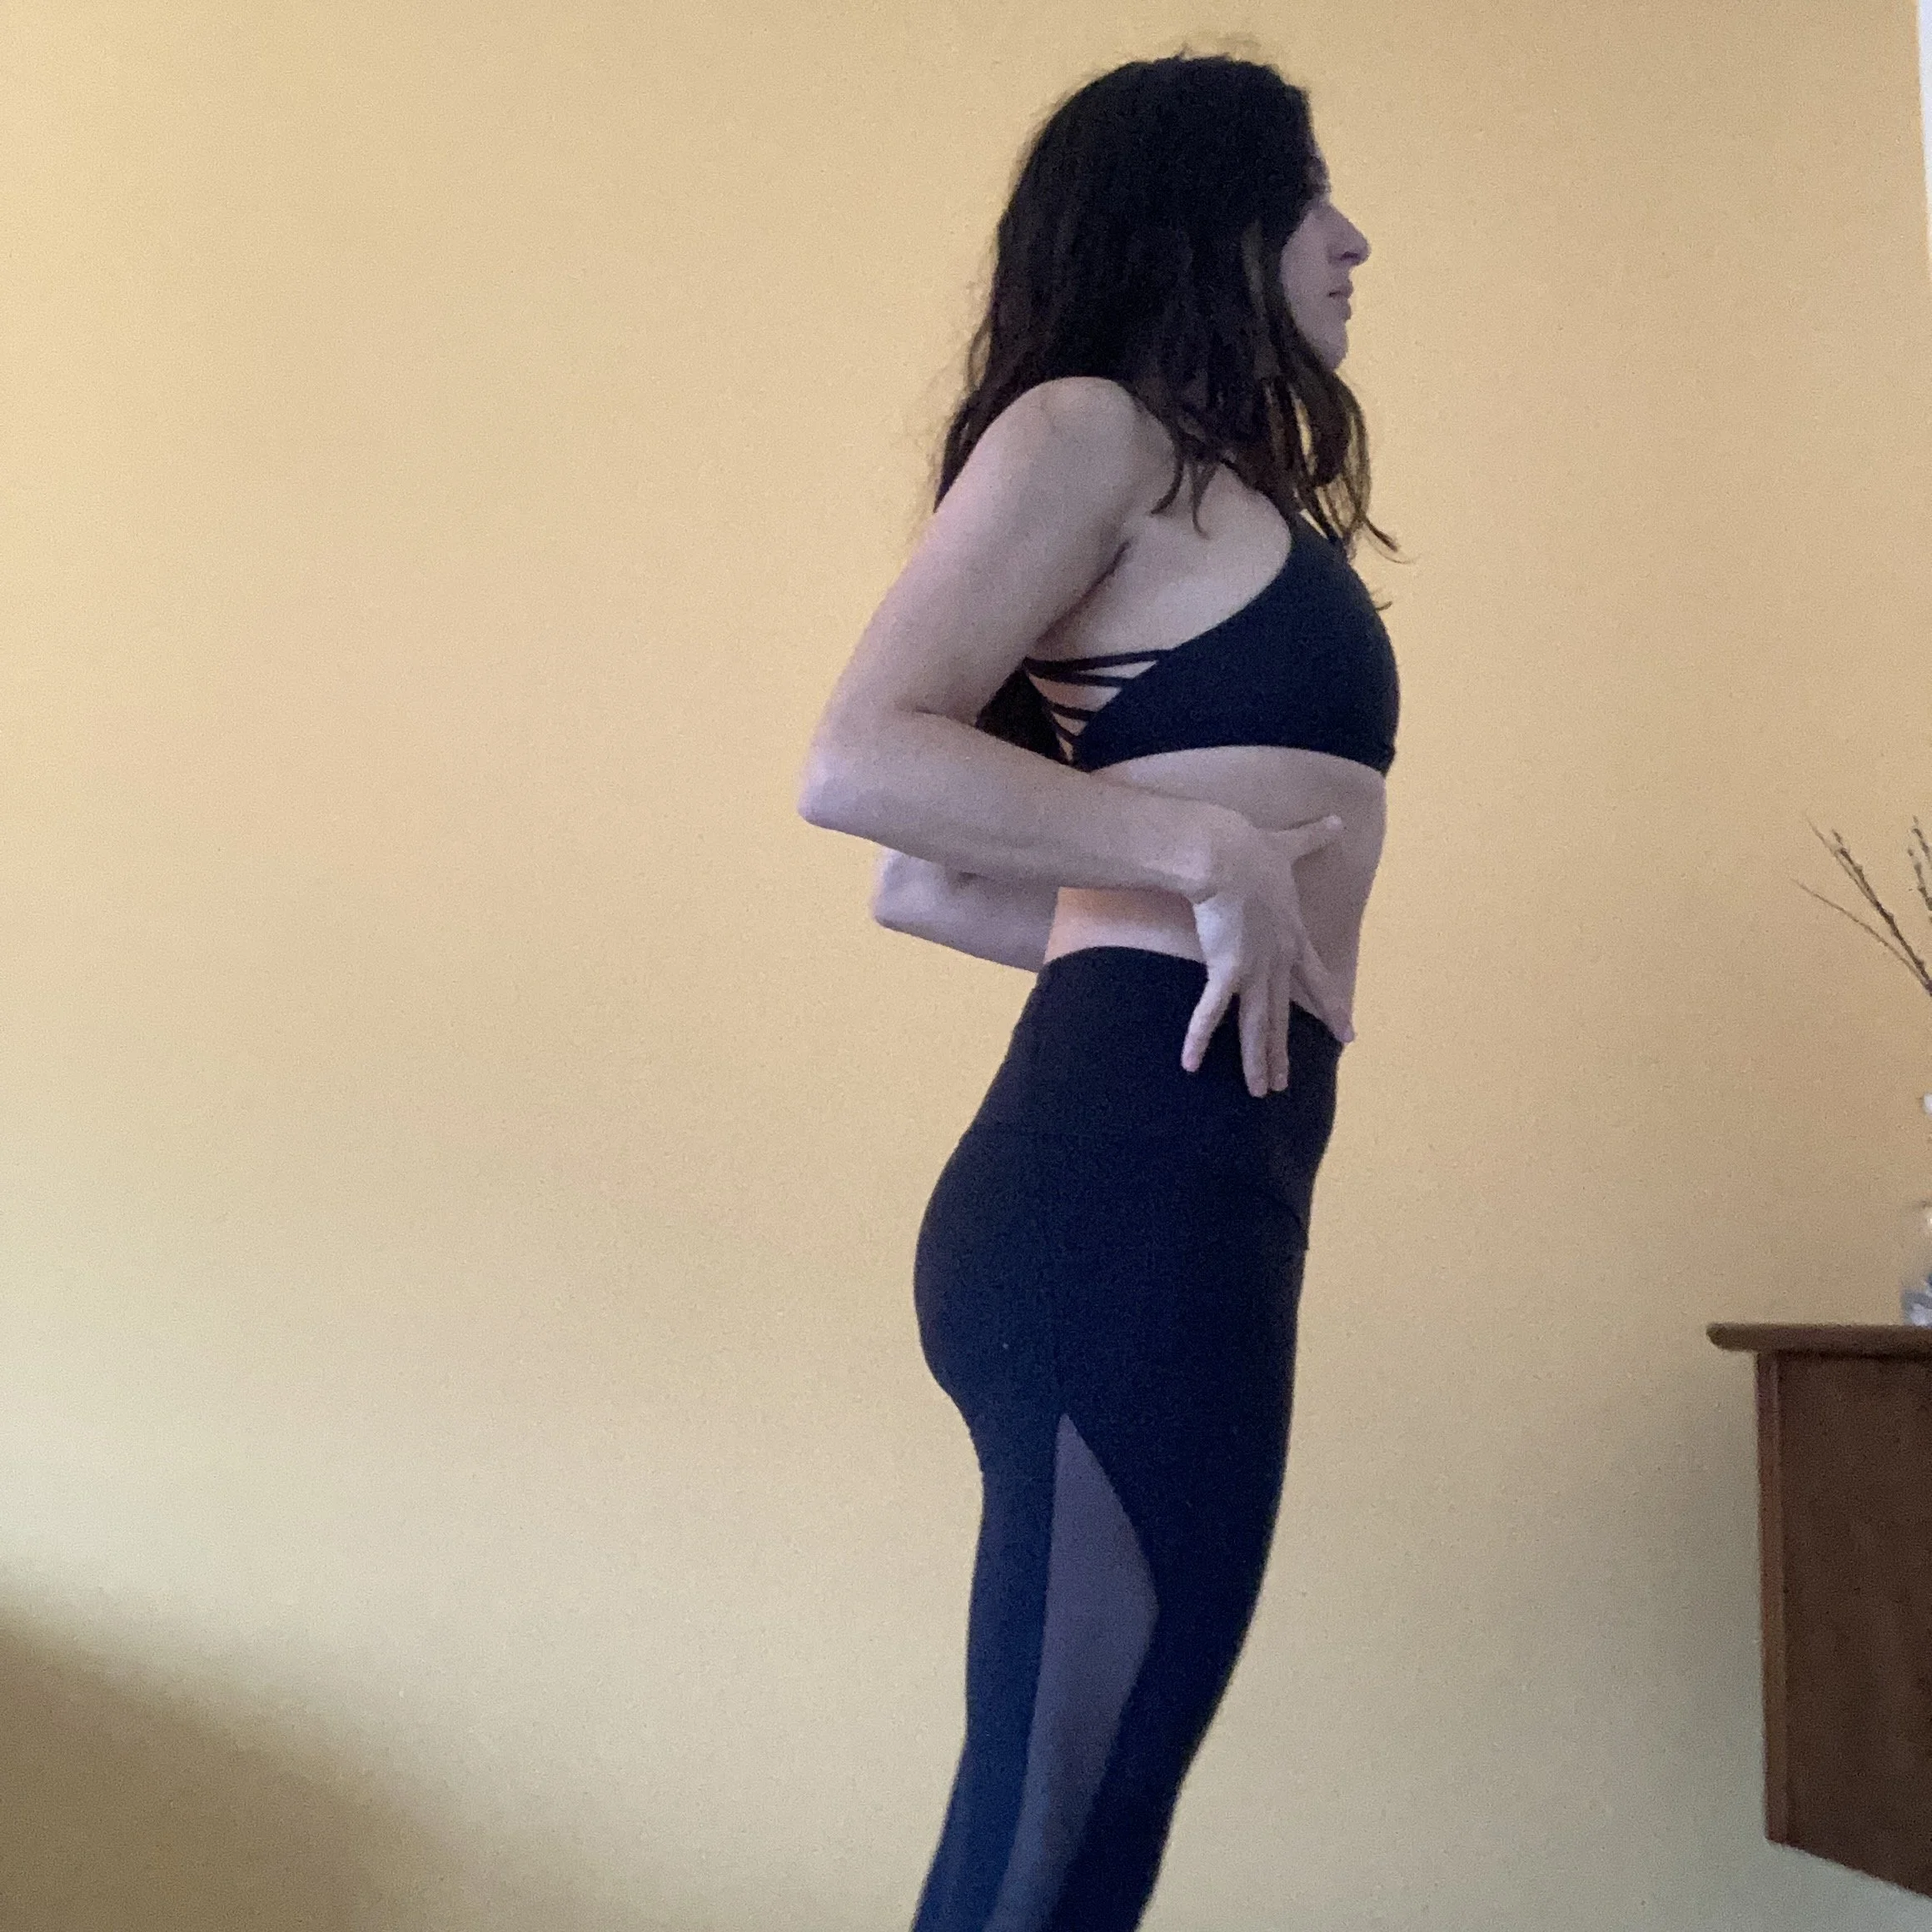
slight ribcage flare

ribcage stacked over pelvis
Corrective exercise for Ribcage connection
There are many ways to incorporate corrective exercise into your movement routine to further improve your alignment and function. The focus is to challenge the anterior core canister while elongated the posterior thorax. We do this through progressive and repeated overload of the tissues.
Examples of movements to retrain the ribcage connection are listed below. There are also some videos available on this instagram post.
bridge
bridge + alternating march
bridge + press/overhead reach
single leg bridge + overhead reach
90/90 + press
90/90 alternating toe taps + press
Remember to breath! Exhale through the effort of each repetition to maximize collaborative recruitment of your diaphragm during early training. As you get better, you can let go of that compensation, but do continue to breath in and out versus holding your breath through your exercise.
🖐🏽 Up your proprioception game with tactile cueing: place hands at lower angle of right and left ribcage OR place one hand at end of sternum and one on pelvis OR place thumb on ribcage and pinky on hip point. Focus on connecting your hands towards one another (towards midline) as seen in the video. Can you keep them equidistant even as you add in arm/leg movement, change the speed, add a weight, etc?
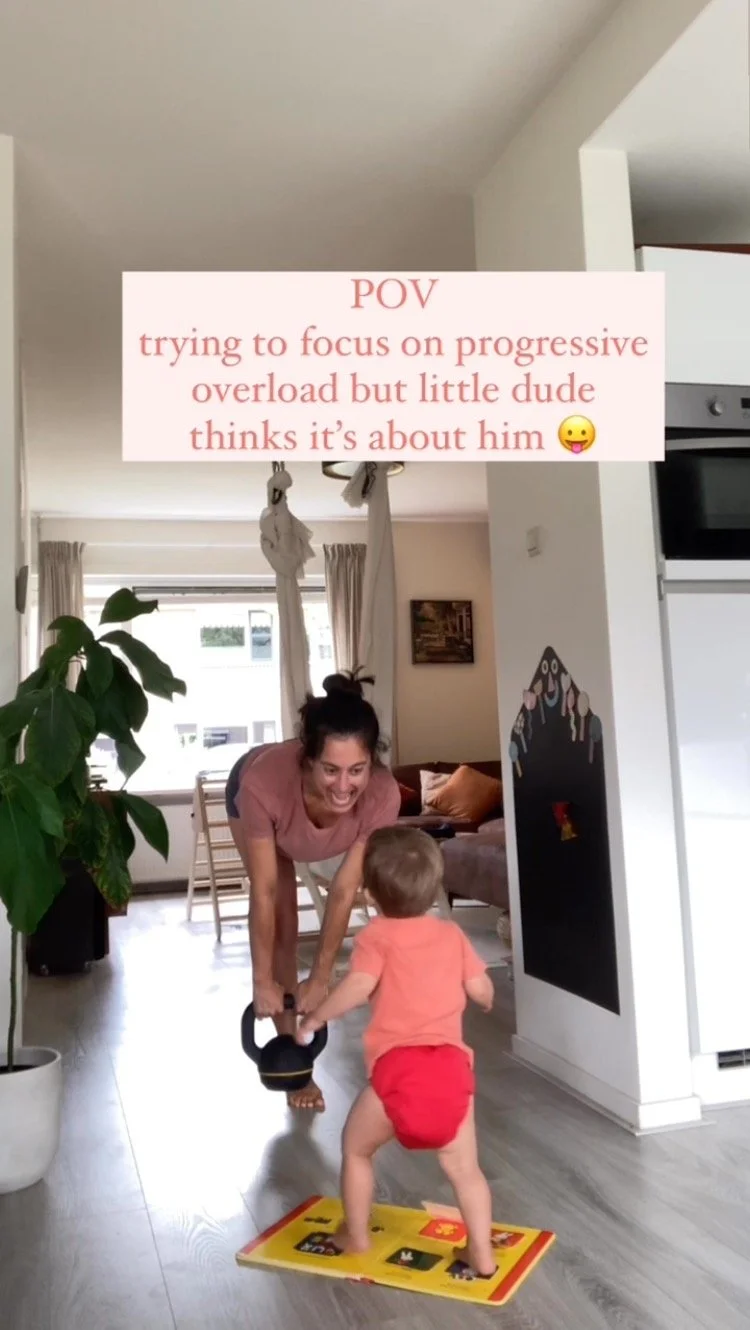
Next level: Once you get the hang of it with some mat work, take your exercises off the ground to continue to challenge in a more functional way. Focus on your alignment and connection during your usual gym routine or yoga flow, taking your time to scan and re-adjust. You’ll probably notice your deep abdominal muscles playing along as you train! Check out how you are integrating this with your sports performance and with how you do everyday activities. The more you expose yourself to the new pattern, the more it will become automatic.
Would you like personalized guidance and instruction?